Few things are worse than getting part of the way into a construction project at home and then realizing you don’t have a certain tool necessary to get the job done right and quickly.
You think you have all the materials you need. You’ve set aside the whole weekend to complete the project. You turn water and/or electricity off, start demoing and tearing stuff out.
…and then as you’re about to get into putting it back together, you realize you don’t have that one key tool or piece of equipment.
So, it’s either stopping what you’re doing and making a run to the home improvement store, buying something that will just get you by, or getting the right tool online and having to wait until next weekend to finish the project…your electricity and water off all the while you’re waiting!
Obviously, that’s NOT the ideal scenario, but I’m sure it’s happened in some way to you – just as it has me!
I want to help you avoid that nightmare today, and give you a list of the top 13 tools (plus a few more) you’ll want to have on hand when you’re ready to start your tile shower/bathroom renovation project.
1. Tile Saw
You could get by with a manual tile cutter on a small DIY tile project, but in building your own custom tile shower, you’ll want to make precise cuts that make the finished product look like a professional did it. And a nice tile saw is essential for that.
If you’re not getting into the business of laying tile, and only using a tile saw for your tile shower project and maybe a few other tile projects around the home, then you won’t need to get a top-of-the-line professional tile saw that would set you back anywhere from $800-$1,000+. But you definitely won’t be pleased if you go with the cheapest option either. It’s truly one of those “get what you pay for” situations.
I recommend a contractor grade wet tile saw, with a 7 inch or 10 inch blade that will be large enough to easily cut large format tiles that are commonly used today, and with a motor big enough not to bog down when feeding the tile through. One wet tile saw that I own, and use for many small to medium sized projects is a Ridgid 7″ Wet Tile Saw…
If you think this will be your one and only ever project to cut tile, you could skip buying a tile saw and rent one from your local tool rental store instead.
2. Impact Driver
The impact driver is your go-to tool when fastening anything with screws. When you apply drywall to studs, concrete board to studs, plywood to floor joists, or attach a level starting guide board to a wall to begin laying tile from, you’ll need the impact driver to get it done easily & quickly.
3. Drill
You’ll use the drill quite a bit with a bathroom renovation or tile shower project. Not only for the obvious purpose of drilling holes into things (with a set of drill bits), but also for mixing mortar and grout in buckets with a mixing attachment (which I’ll get to further down).
Because the impact driver and drill are both essential tools for not only your tile shower build, but also endless other tasks around the home, to get the most bang for your buck, I recommend getting a combo kit like the one below…
Why Do I Recommend This Combination Kit?
- Brushless – The newer models with brushless motors offer a much longer lifespan of the tool
- Hammerdrill – You can go a bit cheaper getting a standard drill, but the hammer drill feature will come in VERY handy with drilling through tile with diamond tile bits
- Large Battery – The standard smaller batteries drain very quickly, even on the quickest of jobs, but the Flexvolt 60V Max battery will last you quite a while between recharges
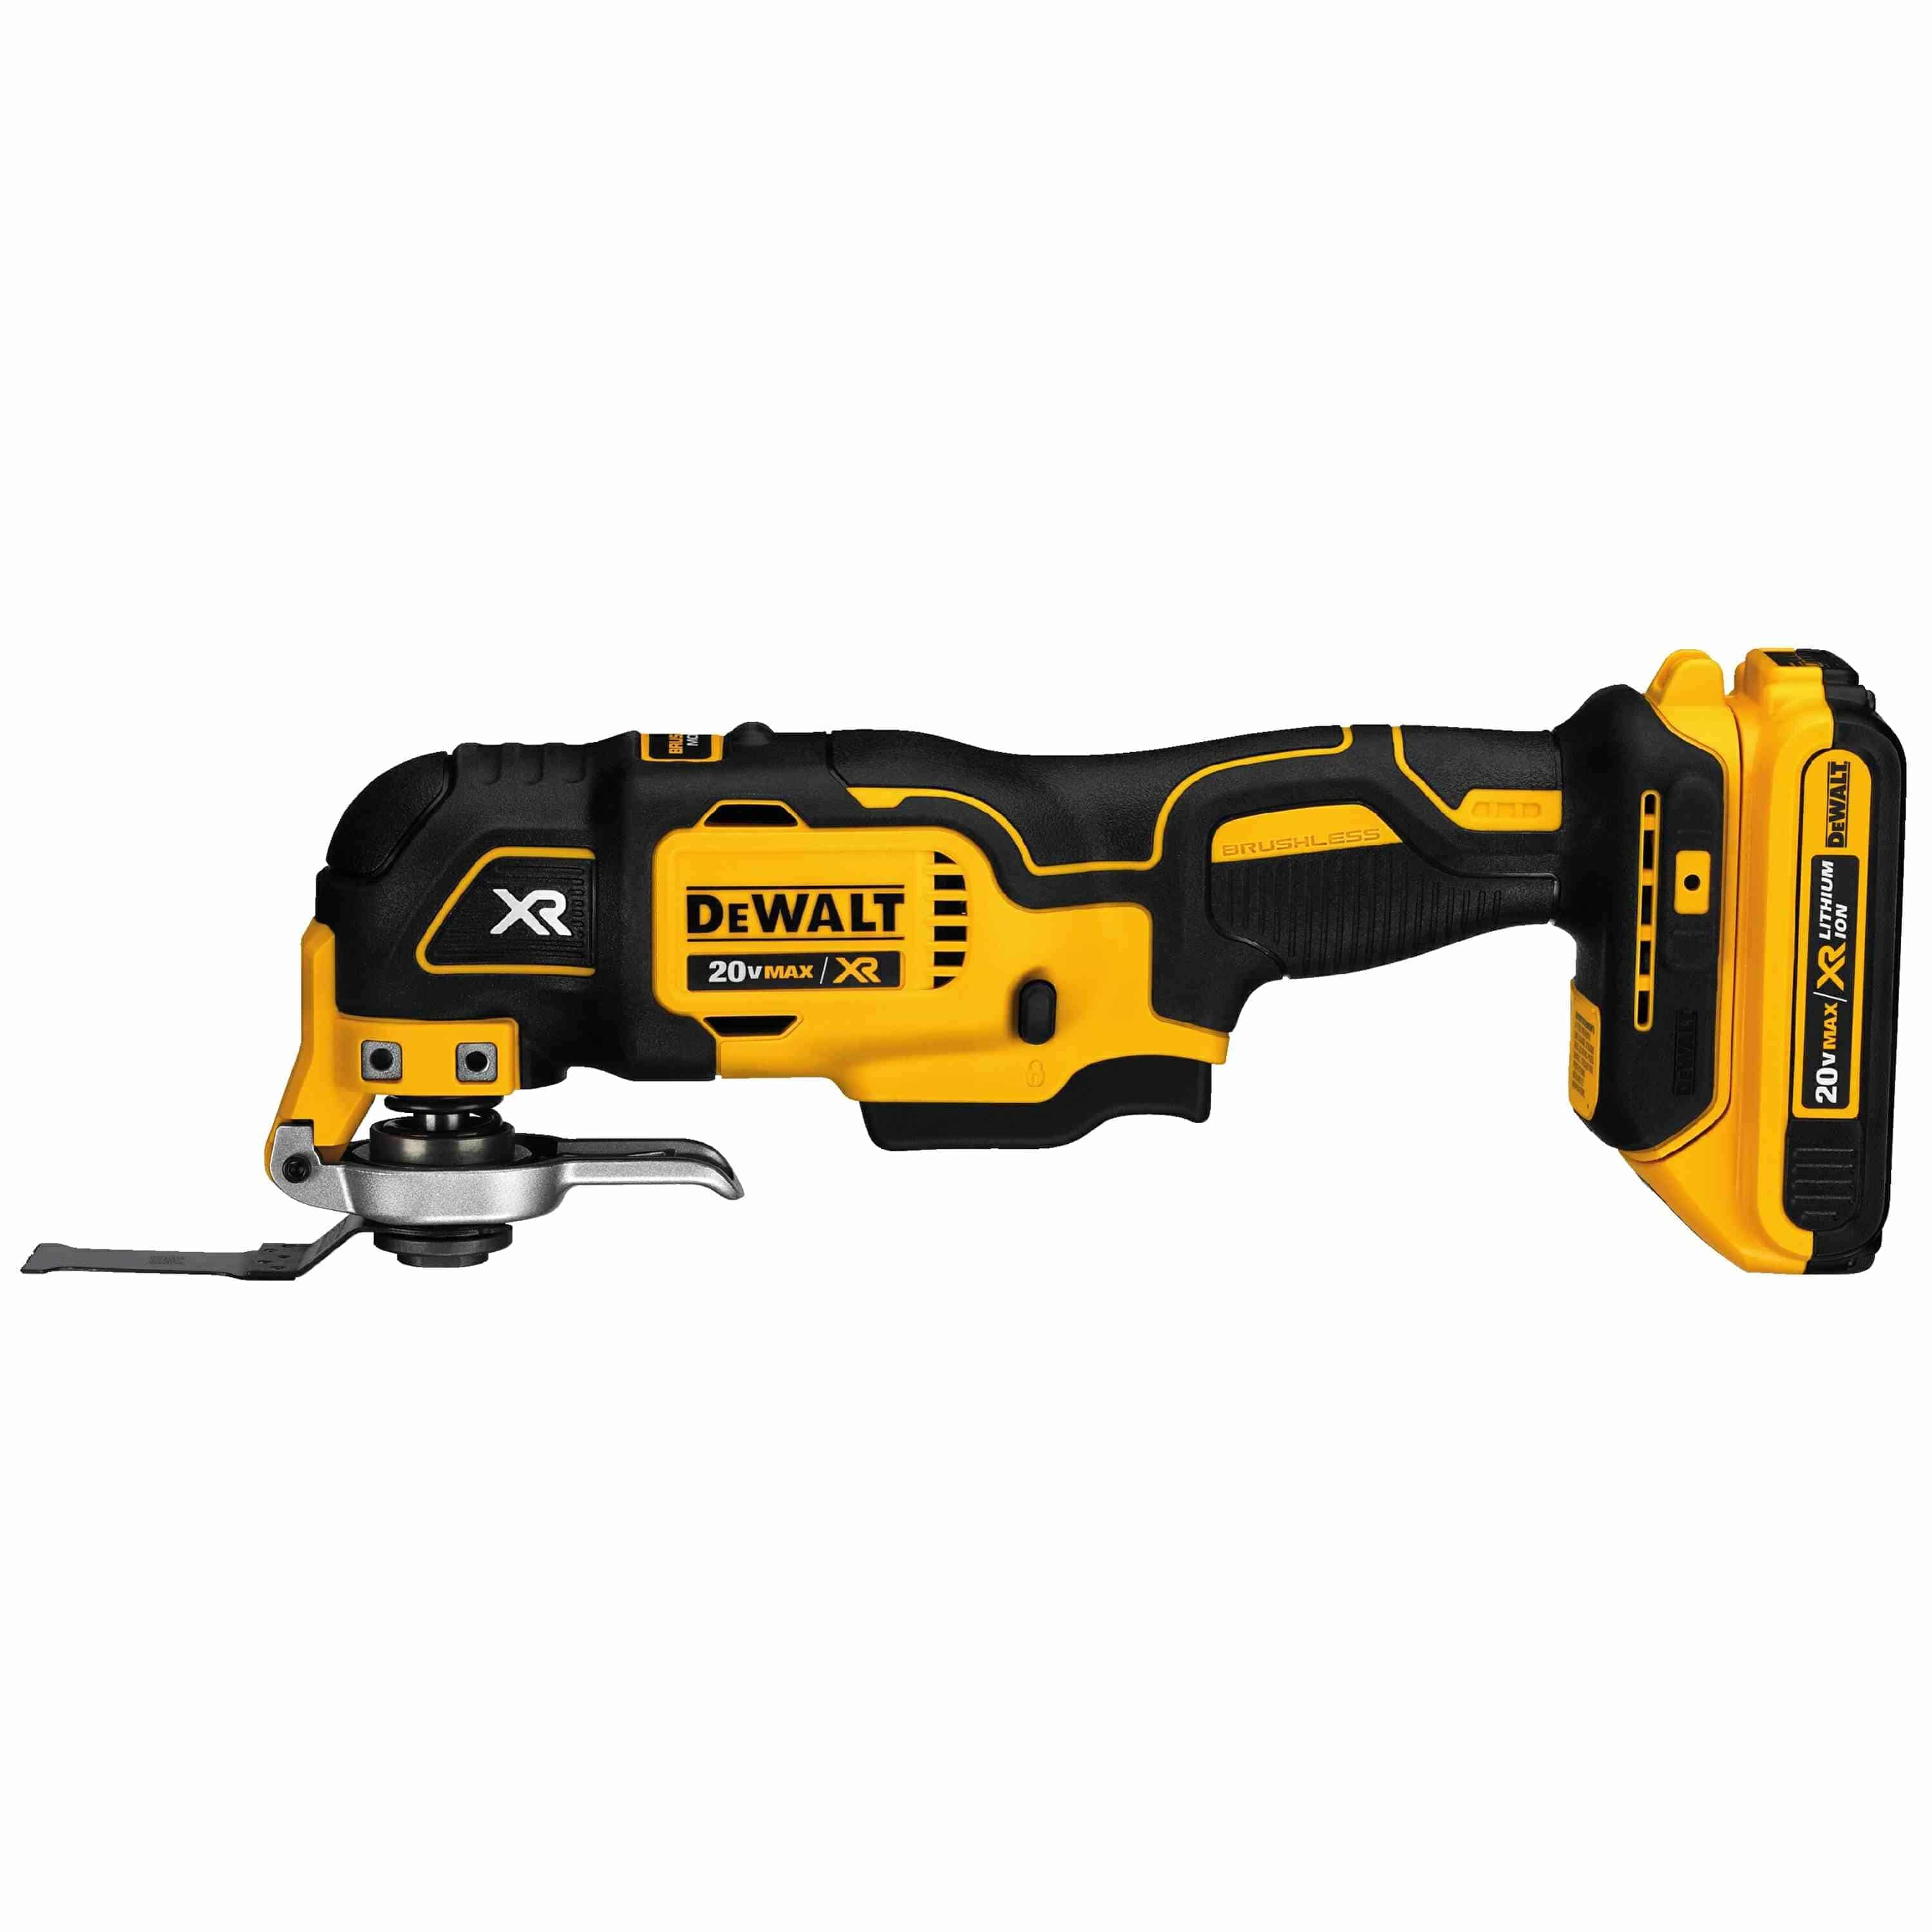
- Stick With One Brand – Most power tools today are battery-operated, so as you accumulate tools for your home projects, it’s wise to keep with one brand, simply because you can have one set of batteries that are interchangeable with all of your tools. I always recommend DeWALT, not necessarily because I think DeWALT tools are THE best available, but because 1) they’re what I use myself, 2) all my tools use the same batteries, and 3) it’s nice that DeWALT allows to you buy the tool only, so if you have enough batteries already, you don’t have to buy yet another battery every time you get a new tool. If there’s a different brand you already have a collection of, stick with it!
4. Miter Saw or Circular Saw
If your tile shower & bathroom renovation project will include gutting and tearing everything down to the underlying framing, and you’re rearranging the layout, then you’ll likely be cutting new boards. In re-framing walls, building pony/half walls, or cutting plywood sheets for flooring, you’ll find a new cordless circular saw or miter saw much faster and easier to use than an old-fashioned carpenter’s manual crosscut saw.
Or, if you also will be installing new trim, moulding, and casing to add the finishing touch to your bathroom project, you’d want to get a miter saw for making accurate angled cuts on your trim…plus, the miter saw will do most of cutting you would need the circular saw for as well!
5. Mortar Mixer
If you’re getting into the business of laying tile, you’d want to invest in a professional mortar mixer dedicated to the job of mixing mortar (faster and in larger quantities), which would cost anywhere from $60 to $100.
But for the average DIY tile project, a simple drill attachment like this one below would do the trick. And it’ll only set you back a whopping $15 to $20…
6. Diamond Tile Drill Bit
With your tile saw, you’ll be able to cut tiles to fit around many objects in the shower, such as drains, protruding pipes, and valves. But sometimes the needed hole lines up right smack in the middle of the tile, too far to notch in from an edge.
For those instances, you’ll want a nice set of diamond coated tile drill bits, to be used with a wet cutting system (reduces dust, heat, & noise).
You don’t want to skimp on this tool. Cheaper bits can lead to cracking the tile, taking forever to drill through a tile, and frustrating you to no end.
Get the drill bit set with this jig/guide that attaches by suction cup to the tile, holding it in the exact place you want to drill the hole, and it allows you to add water as you cut, keeping the bit cool, and keeping the dust & noise down.
7. Trowel
I like to use a pointing trowel to scoop mortar out of my rubber bucket and onto the surface being tiled or the back of the tile. You can scoop out of the bucket with the notched trowel itself, but I find it easier with a pointing trowel.
8. Notched Trowel
You will need a notched trowel to apply the mortar to the floor or wall before laying the tile into the mortar, adhering it to the surface.
What size of notches in the trowel you need depend on the size and kind of tile you are working with, as well as the evenness of the surface you’re applying the mortar to.
Check with the manufacturer of your specific tile to determine what trowel notch size is recommended for your tile. Also, read our guide on notched trowels, (Trowel) Size Matters.
Here are some examples of quality notched trowel of various sizes:
- 1/8″ x 1/8″ x 1/8″ MD Building Products Square Notch Trowel
- 1/4″ x 1/4″ x 1/4″ MD Building Products Square Notch Trowel
- 1/2″ x 1/2″ x 1/2″ MD Building Products Square Notch Trowel
- 1/8″ x 1/8″ x 1/8″ MD Building Products U-Notch Trowel
9. Tile Spacers
A dead giveaway of an amateur tile job are inconsistencies in the alignment of tiles with each other. It’s amazing, the smallest offset or misalignment of tile corners with adjacent tiles will stand out like a sore thumb.
Fortunately, you don’t have to eyeball or guess as you lay tile one after another. Plastic spacers are a lifesaver and speed up the job tremendously, giving you perfect spacing throughout the whole tile floor or tile shower.
You can buy spacers of different thicknesses, like 1/16″, 1/8″, 1/4″ or 1/2″, etc., depending on the final look you want – large vs. small grout lines.
Basic tile spacers are readily available at your local home improvement store, but I like one that is adaptable to all the possible functionalities in a single spacer: corners, offset/brick/T patterns, crosshead, etc. And a single spacer can provide two spacing thicknesses by flipping one or the other side up.
Spacers are reusable, so you’ll have them available for the next tile project you tackle as well!
(Browse Amazon to find other spacing thicknesses available)
10. Tile Leveling System
A second giveaway of a poor tile job is lippage, or unevenness of the surfaces from one tile to another.
You could take great care and time, getting each tile exactly lined up with the previous, or use another lifesaver of a tool: a tile-leveling system.
Look for a kit that includes strips, wedges, and pliers.
The strips are placed under the edge of the tile, wedges are inserted through the slot in the strip above the tile once two tiles are placed against each other, and then a quick tightening with the pliers ensures perfect alignment and flatness between the tiles. After the tile is set, you can come back through to remove the wedges and tear off the plastic strip. You’ll need new strips for each tile project, but the wedges & pliers are reusable.
11. Torpedo Level
You’ll be using a small torpedo level a lot while laying tile. Laying tile on the floor, you can use it to ensure the surface of the tile is level. And when installing tile on the walls of the shower, you will use it to make sure your tiles are perfectly plumb and level. It’s small, so it can easily fit in a back pocket, tool bucket, or tool belt.
12. Tile Nippers
After you’ve made cuts into tile with your tile saw, there are sometimes edges, corners, or special shapes (curves and such) the saw just can’t make. Making the best cut possible with the saw, you can then refine it down with a good set of tile nippers.
Be careful not to try to chip off too big of a piece at a time; you could end up cracking/breaking that piece of tile you just spend a bunch of time cutting on!
13. Grout Float
After you’ve done most of the hard work waterproofing the shower, and then cutting & laying tile, there’s light at the end of the tunnel. But grouting all the spaces between the tiles will really polish it off. Grout not only makes the tile job look better, but it’s also structurally important, as it locks the tile together.
To apply the grout, you’ll need a rubber grout float, which consists of a thick rubber pad attached to a C-shaped handle. If you’re not sure how to apply grout, be sure to check out our complete guide on grouting tile.
A standard grout float will work for applying grout to the majority of the tile surfaces…
But you may also want a specialized grout float like this one, designed to get grout into corners, crevices, and smaller spaces…
Honorable Mention…
“But wait! There’s more!”
Here are a few other tools you probably already have around the house, or that aren’t “necessary” but will certainly make the project go smoother & faster!
A Sponge
You definitely must have a sponge to wipe the surface clean after the grout has been applied and as it’s drying. Again, if you’re not sure of the exact process of properly grouting your tile, check out our Complete Guide To Grouting.
Any sponge will do, but I like these that are made specifically for the purpose of grouting. They hold a large amount of water and leave less sediment behind,
Box Knife
You probably already have a knife laying around the house somewhere, so it may not be something you need to get…but a sharp box knife will come in very handy cutting open tile boxes, mortar bags, and cutting drywall as well.
Knee Pads!
No matter how young you may feel, a whole weekend on your knees laying tile will not be pleasant! A nice set of knee pads will keep you comfortable as you’re tiling the floor, and constantly getting up and squatting down.
Laser Level & Tripod
This is something that’s not required, as a simple torpedo level or 2 foot level will be sufficient for leveling guide boards, leveling walls when framing, and making straight edges.
But with a laser level like this, you can set it up on its tripod, raise or lower the height to line up with a row of tile you’re laying on a wall, and the self-leveling laser will give you a precise target to follow to ensure the whole row of tiles align perfectly and look professional when you’re done.
Rubber Bucket
I know that you, me, and every DIYer has a bunch of plastic buckets in the garage from the home improvement store or from past projects. And believe me, those will work just fine for mixing your mortar in…
…but you’ll love how much easier cleanup is with a rubber bucket! Even if the mortar has completely dried inside, it will still take less time and be easier to clean out than a hard plastic bucket.
Well, I think that about covers it. With all of these tools in your toolbox, you can rest assured you’ll be ready to complete your tile shower project without having to stop halfway through, and you’ll be able to get the job done faster and more easily! …and your spouse will be happier as well!


